

A whole lot of talk about reactJS, redux, better alternative to Angular and more, but what is all that? Have you found a lot of learning material and went through the documentation but are still confused how to code?
Here in this article we will break down all the big terms with reactJS like redux, axios, react router, JSX and more with explanation and how to code with that. For this part of the article, we will focus more onto the general setup, understanding how to start, create a basic skeleton with code alongside understanding. For reading this, I believe you have basic understanding of reactJS as this course mainly focuses on how to code reactJS, best practises, redux etc with their understanding.
What is ReactJS?
ReactJS is a javascript library created by the facebook community to create user interface and mainly focuses on building single page application. Some of the core features of reactJS are:
JSX: Javascript and XML (JSX) is a simple javascript that lets creation of DOM elements more precisely without making use of HTML. It allow us to use HTML syntaxing and even old fashioned javascript for flexibility.
Single Way data flow: In component’s renderer, immutable values are passed as properties. Components are restricted to modify the properties directly by themselves but they can listen to the callback function.
Virtual DOM: Virtual DOM is a copy of the real DOM. Virtual DOM manages nodes of DOM elements and check for changes in any element. If it finds change in any of the element, it modifies that specific element in the real DOM instead of re-rendering the complete DOM tree.
Let’s get our hands dirty and understand things better by writing some code and creating a simple react project. To create a new project, we will use create-react-app, which provides us a complete boilerplate with configuration of babel and webpack setup and more. Make sure you have npm or any other package manager like yarn installed on your machine as we will be using this for managing our packages.
npm install -g create-react-app    // Install the CLI tool if you don’t already have
create-react-app my-shopping-app   // Create an app
cd my-shopping-app                 // Navigating to folder
npm install                        // Install dependencies
npm start                          // Start development server
Your my-shopping-app project will now be running in the browser on port 3000. Open the created project in any code editor, I will be using atom for this.
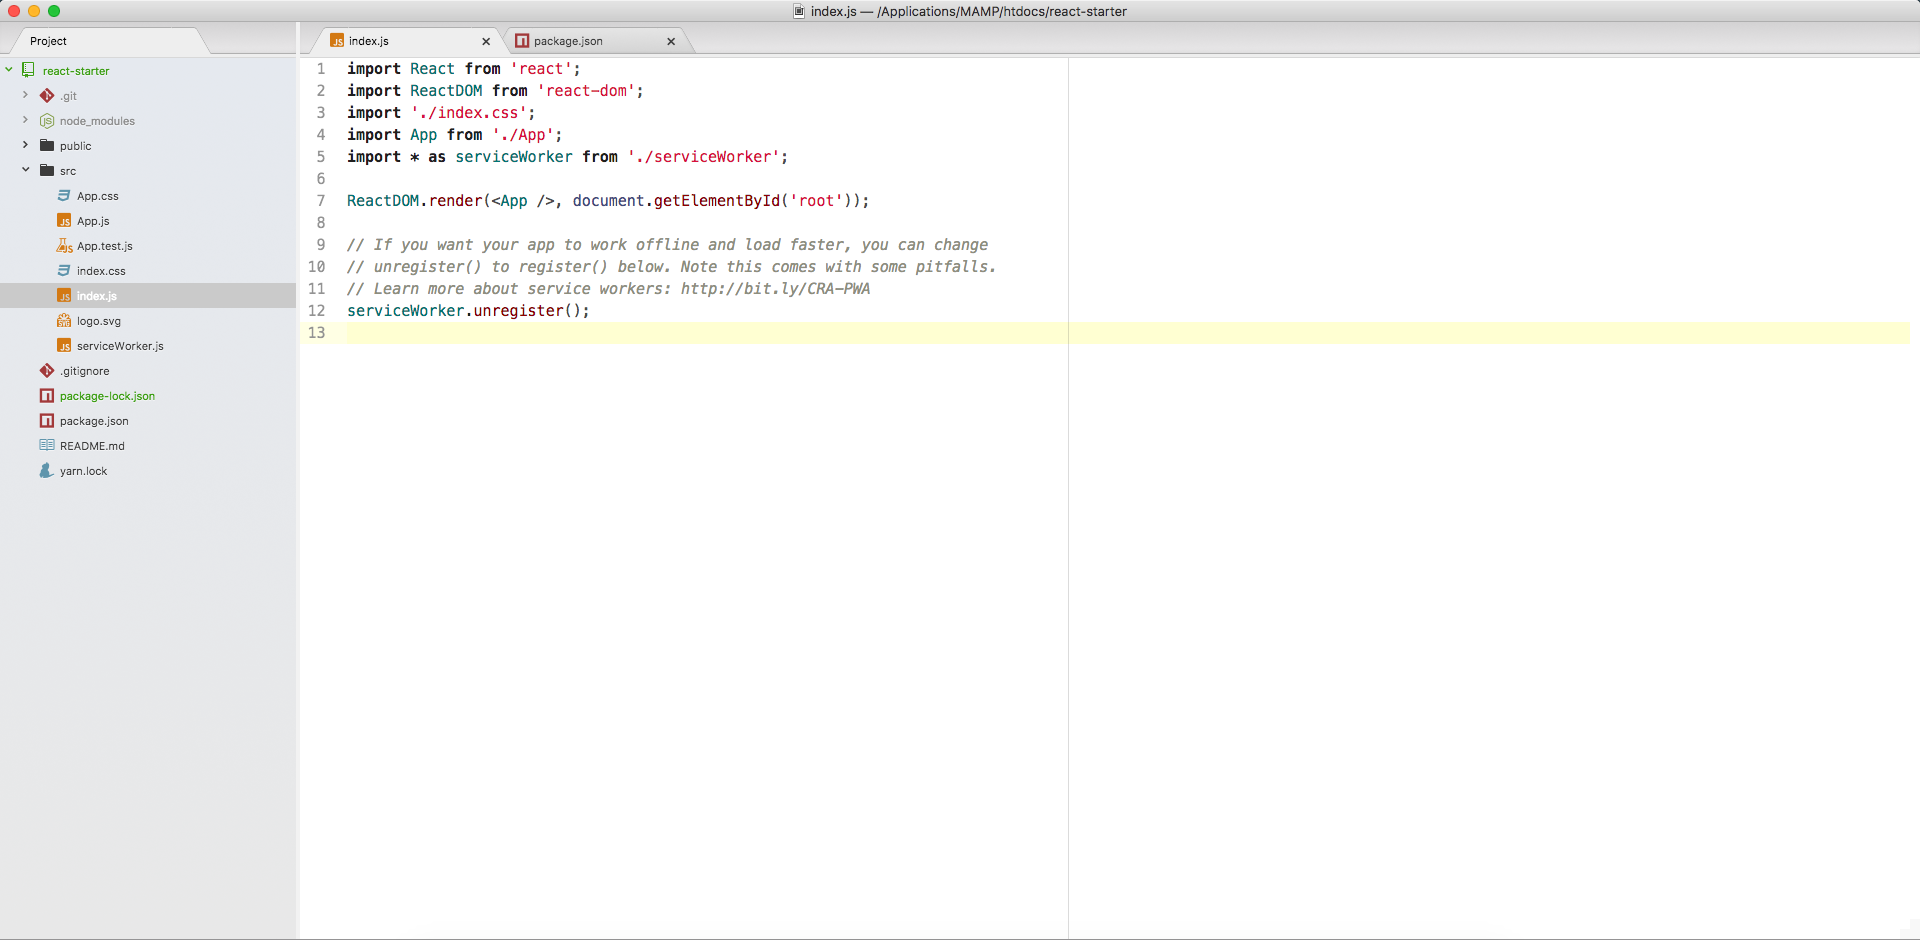
The above image shows the basic folder structure provided by create-react-app. Now since this is our project, lets modify it and add stuffs according to our needs.
For this part of our article, we will focus on designing a general workflow with folder structure we might be needing, creating basic components, designing a page and making use of higher order components. You can clone and download source code for this project and play around with it.
Folder Structure
.git
node_modules
public
  - bootstrap.min.css
  - favicon.ico
  - index.html
  - manifest.json
src
  - assets
  - components
    - Navigation
      - Header
        - Header.js
  - container
  - hoc
    - Aux
      - Aux.js
    - Layout
      - Layout.js
  - App.test.js
  - index.css
  - index.js
  - MyShoppingApp.css
  - MyShoppingApp.js
  - serviceWorker.js
- .gitignore
- package-lock.json
- package.json
- README.md
- yarn.lock
Let’s understand the folder structure here. I have renamed app.js and app.css to MyShoppingApp.js and MyShoppingApp.css as per our project’s name. Component folder will be comprised of all the independent components which generally does not rely upon any other component. Container folder acts as a container of any other component as their child component. For now, we don’t have any need of the container folder, but following the good coding pattern and futuristic approach, we have kept Product component inside container folder. There are 2 higher order components – Layout and Aux.
Layout.js is generally acting as a higher order component to wrap different section of the project within one page. It takes header and the main content area and wrap them all together to globally use repeated components without adding them everytime.
Aux is a higher order component that simply returns the component which is wrapped within it. It has been created to avoid any unnecessary use of <div> tag to wrap complete elements within a component.
Layout.js
import React, {Component} from 'react';
import Header from '../../components/Navigation/Header/Header';
import Products from '../../containers/Products/Products';
import Aux from '../Aux/Aux';
class Layout extends Component {
  render() {
    return (<Aux>
      <div className="wrapper">
        <Header />
        <Products />
      </div>
    </Aux>)
  }
}
export default Layout;
Aux.js
const aux = (props) => props.children;
export default aux;
For this project, I am using bootstrap v4.0.0 for the design part. Layout component here is wrapping Header component and Products component. There is a different file created for header to use it everywhere across the project without repeating the same code overtime.
Header.js
import React, {Component} from 'react';
import Aux from '../../../hoc/Aux/Aux';
class Header extends Component {
  render() {
    return (<Aux>
      <header>
        <div className="container">
          <nav className="navbar navbar-expand-lg navbar-light bg-light">
            <a className="navbar-brand" href="#">My Shopping App</a>
            <button className="navbar-toggler" type="button">
              <span className="navbar-toggler-icon"></span>
            </button>
            <div className="collapse navbar-collapse" id="navbarSupportedContent">
              <ul className="navbar-nav ml-auto">
                <li className="nav-item active">
                  <a className="nav-link">Home
                  </a>
                </li>
                <li className="nav-item">
                  <a className="nav-link">About</a>
                </li>
              </ul>
            </div>
          </nav>
        </div>
      </header>
    </Aux>)
  }
}
export default Header;
The Header component above uses Aux component as a wrapper that returns the complete component without making use of any unnecessary <div> element. It has 2 links, Product, the page we are currently on and `About`, which we will build along the go when we are dealing with react router.
Products.js
import React, {Component} from 'react';
import Aux from '../../hoc/Aux/Aux';
import Layout from '../../hoc/Layout/Layout';
class Products extends Component {
  render() {
    return (<Aux>
      <div className="container my-5">
        <div className="row products-list">
          <div className="col-4">
            <div className="card">
              <img className="card-img-top" src="https://via.placeholder.com/350x200" alt="Card image cap"/>
              <div className="card-body">
                <h5 className="card-title">Polo t-shirt</h5>
                <p className="card-text">Price : $10</p>
                <a className="btn btn-primary">Add</a>
              </div>
            </div>
          </div>
        </div>
      </div>
      <div className="container">
        <table class="table table-bordered text-center">
          <thead>
            <tr>
              <th scope="col">#</th>
              <th scope="col">Name</th>
              <th scope="col">Price</th>
              <th scope="col">quantity</th>
              <th className="text-primary" scope="col">Total</th>
            </tr>
          </thead>
          <tbody>
            <tr>
              <th scope="row">1</th>
              <td>Polo t-shirt</td>
              <td>$10</td>
              <td>2</td>
              <td>$20</td>
            </tr>
            <tr>
              <th></th>
              <td></td>
              <td></td>
              <td></td>
              <td className="font-weight-bold text-primary">$20</td>
            </tr>
          </tbody>
        </table>
      </div>
    </Aux>)
  }
}
export default Products;
Products component comprises of all our listed products with details and allow us to add products into our cart. We won’t be implementing any payment gateway for this course module but we will make use of this component at the time of bringing redux into action.
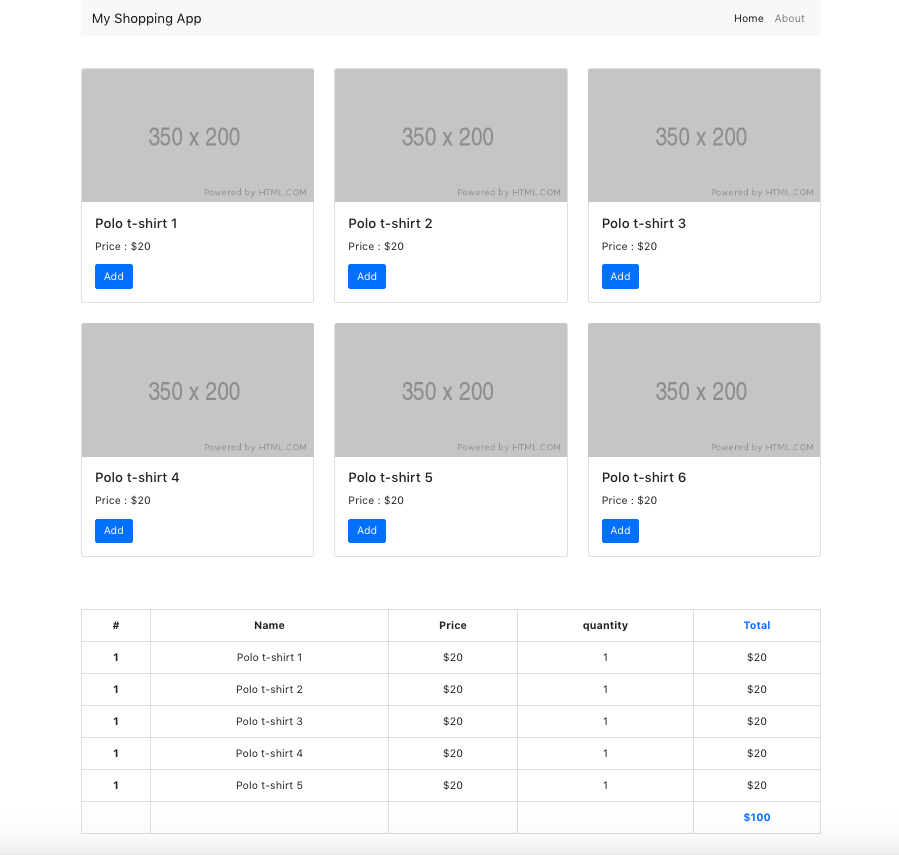
Here is how our website looks so far. May not be super beautiful, what things we need to understand to start with.
Side Notes
- Since our test project is a very small project, most of the functionalities implemented here may not be very useful for this project, but are quite useful when working on large scale application. What we do here will give you an idea of how to implement best practises in large scale applications.
- Making use of functional components is a very good practise. Though we have not touched anything such so far, we will be implementing it in `About` module where we will not be needing any lifecycle hook or any need to updating state.
In the part 2 of this series, we will look on how to work with react router, react router dom, how to fetch data using axios and will be doing some modification in what we have created so far.
Follow along the series and do comment your thoughts or any question that you may have. So get ready, as we are about to move forward to dive deeper into react’s core features.